Creating Your Own Browser Extension: A Beginner's Guide
This article helps a beginner Devs to create a Browser Extension using JS and HTML.

In this article, I have laid down a step-by-step guide on how to create a Browser extension in Chrome and Firebox.
In daily life, we use many extensions in the browser to make our work easier and faster. For example AdBlock, Proxy etc.
Today we will learn about how to this extension development with our requirement usage. We will create a basic Extension that shows you how extension work and debug in our local environment.
- Let's start Creating a Basic Extension.
mkdir RedZone-Ext
cd RedZone-Ext
manifest.json
- Create
manifest.jsonfile in Project Dir.
{

  "manifest_version": 2,
  "name": "RedZone",
  "version": "1.0",

  "description": "Adds a red border to all webpages matching hashnode.dev.",

  "icons": {
    "48": "icons/border-48.png"
  },
  "browser_action": {
    "default_popup": "popup.html"
  },
  "content_scripts": [
    {
      "matches": ["*://*.hashnode.dev/*"],
      "js": ["borderify.js"]
    }
  ]

}
Here, we create a manifest.json file it's very important. manifest.json describes the all metadata information of our extension like Name, Version,Extension Icon and many more Things.
icons/border-48.png
Create the "icons" directory directly under the "RedZone-Ext" directory. Save an icon there named "border-48.png". You could use this example(If you choose to supply your icon, It should be 48x48 pixels.).
popup.html
- Create a file name
popup.htmlin "RedZone-Ext" Dir and paste the following code.
<!DOCTYPE html><html lang="en">
<head>
<meta charset="UTF-8">
<meta name="viewport" content="width=device-width, initial- scale=1.0">
<title>Document</title>
</head>
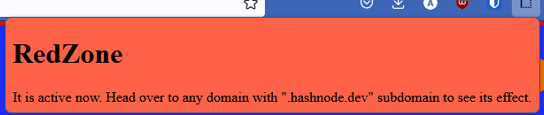
<body style="background-color:#ff6347;">
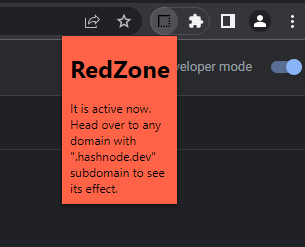
<h1>RedZone</h1>
It is active now. Head over to any domain with ".hashnode.dev" subdomain to see its effect.
</body>
</html>
popup.html is a file that defines the contents of the pop-up window that appears when the user clicks on the extension icon.
borderify.js
Finally, create a file called "borderify.js" directly under the "RedZone-Ext" directory. Give it this content:
document.body.style.border = "5px solid red";
Trying it out:
First, double-check that you have the right files in the right places:
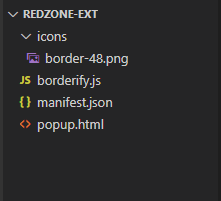
Directory Structure
- Now run our Extension for local testing in the browser.
There are the following browsers to run your extension code
Chrome
Mozilla Firefox
Chrome
- Run our Extension in Chrome. Open your chrome browser and go to URL chrome://extensions turn on your Developer mode Enable. After clicking the button Load Unpacked and load the extension Source Code(Select "RedZone-Ext" Directory).

Turn Developer Mode On and Load Extension Source Code.
As you can see our Extension will load and shows in the Browser Toolbar Menu.
Now visit a page with "hashnode.dev" subdomain for example "abhishek569.hashnode.dev", and you should see the red border around the page.
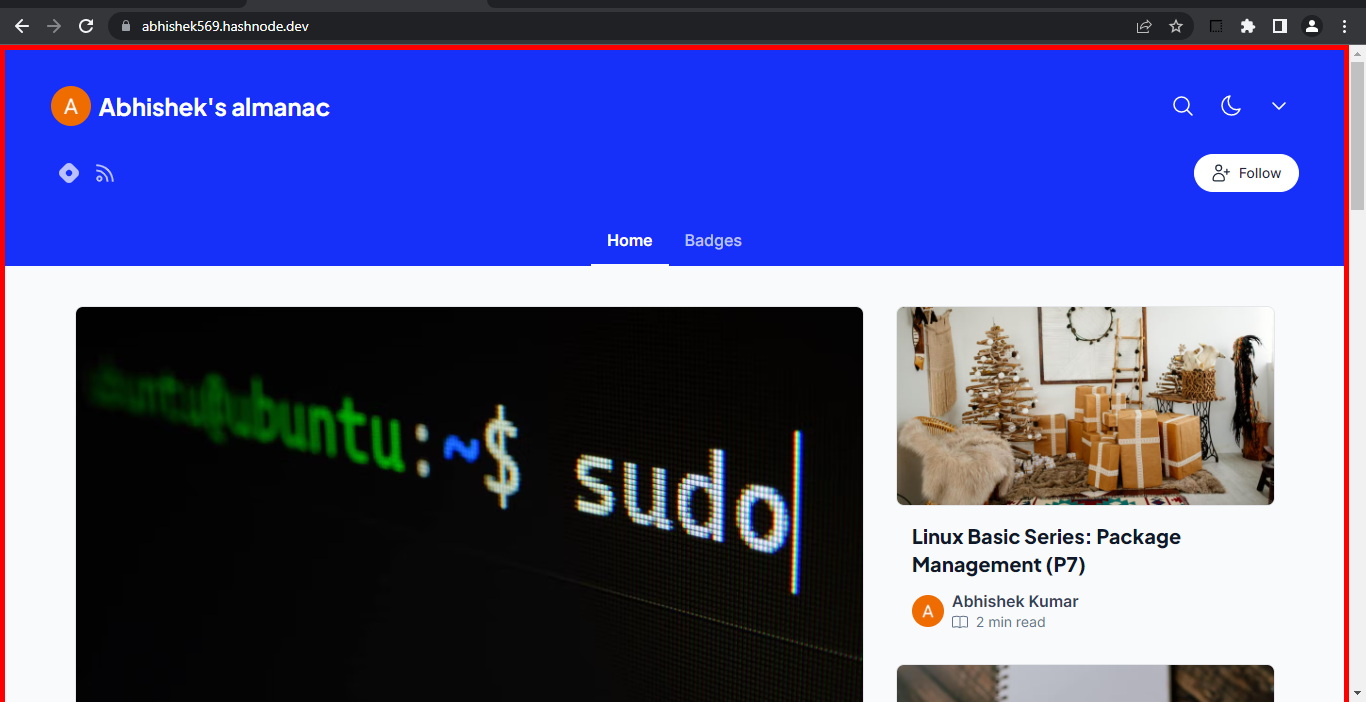
Output in Google Chrome
Mozilla Firefox
- Open your Mozilla Firefox browser and goto URL about:addons
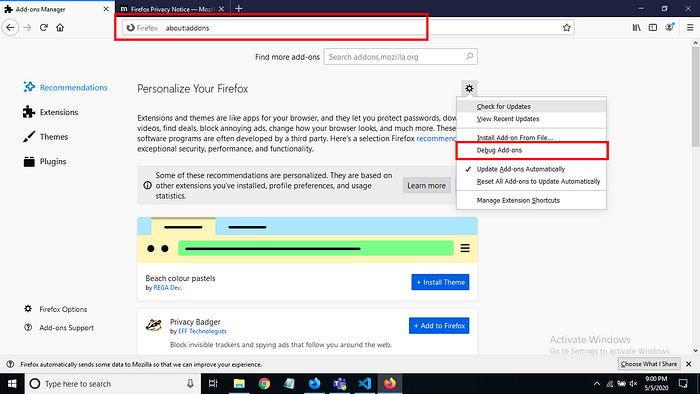
Go to "Debug Add-ons"
You will see the following Window.
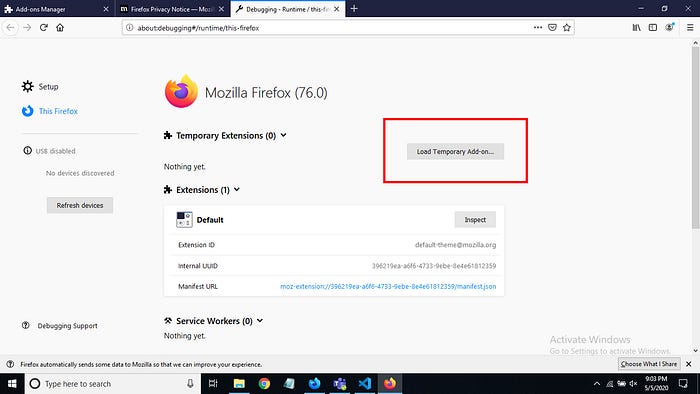
Click on Load Temporary Add-on
- Click on Load Temporary Add-on… and point out/Load the
manifest.jsonfrom your Extension Source code. That’s Done…
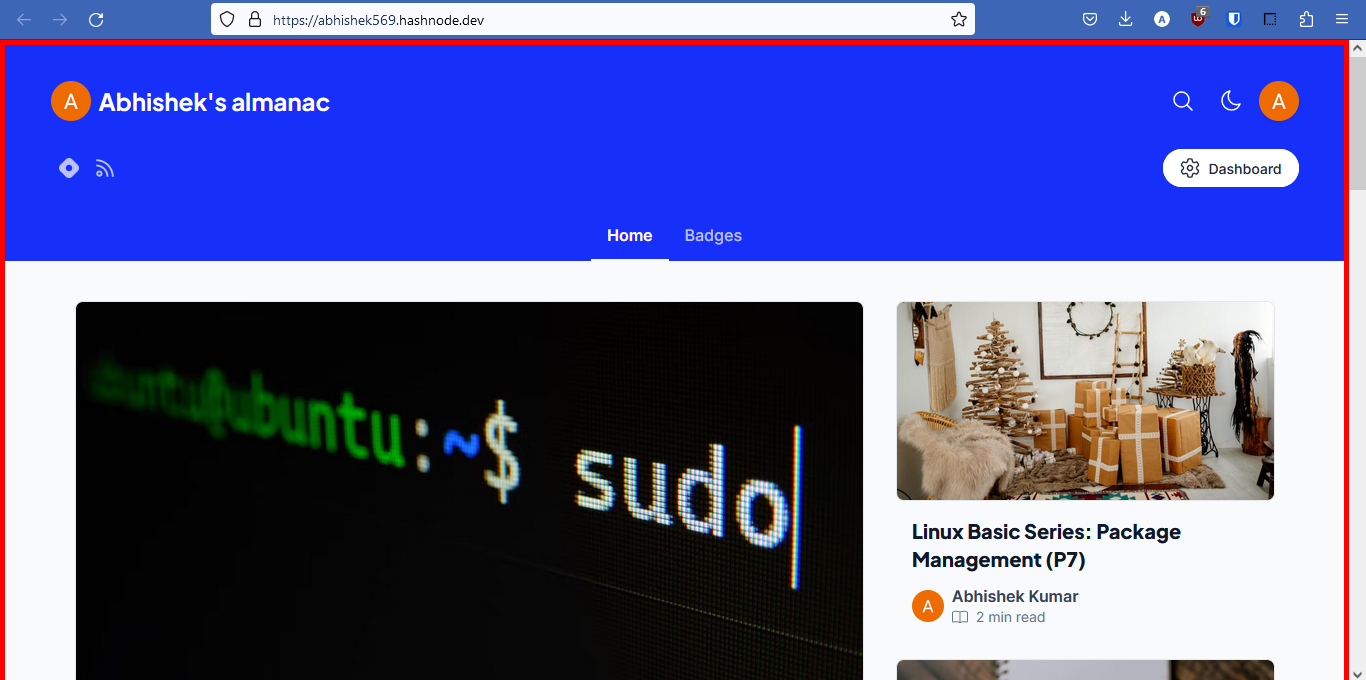
Output in Mozilla Firefox
That is completed we have created our first Browser Extension and Debugged it in Chrome and Firefox.
For any queries reply in the Comments Below.


